return button

Decor Stencils - Vintage Frames

Remarkable Holiday Madness Blog Tour - Day 7

Today is the last day of the tour, wow this week went by fast!  So many wonderful ideas have been shared by my fellow demonstrators and I want to publicly thank them for their wiliness to be involved with this tour and sharing their talents with you, my friends and customers.

I will be presenting to other demonstrator's this evening at a training event so, I thought I would end the tour by sharing with all of you what I will sharing with them.

When I first received my Vintage Frames stencil I was surprised at how big it is!  The size printed in the Holiday Mini Catalog (page 22) is 8.25" x 8.25"  However, that is just the size of ONE of the stencil images, the Ornate flourish shown in the bottom right corner.    This thing is AMAZING and I totally loved playing with it.  I hope you enjoy my samples today.


First is a card made with the stencils center image.  I used VersaMark ink pad directly over the image to transfer the design.  Then simply embossed with SU's Gold embossing powder (IB&C page 196)  Added my greeting (Many Merry Messages IB&C page41) in black ink stamped on Whisper White card stock with the edges sponged in Real Red ink.

When My husband saw the card he thought it needed just a little something more so he added the Glimmer Brads from the Holiday Mini (page 36)...nice touch 'eh?

This next card I use just part of one image.  I just put tape over the parts I didn't want to stencil and sponged on the Baja Breeze ink.  You can see I used the marker/mat technique I told you about the other day on the sentiment too....also a small portion of the stencil to tie it in.  I love a monochromatic card.  This stencil can be used for so many occasions I know I will be using it for more than just the Holiday.    

I really wanted to stencil on my walls, but since we still are in the process of preparing them for painting (yep, we even bought the paint last week!) that I thought my sweet hubby might not like it if I made more work for him.  But I am pretty sure that I am going to use this stencil around pictures in my living room...I can't wait!

This last sample is so cool....I used joint compound (for you walls!) mixed with More Mustard & Pumpkin Pie re-inkers then just smeared it over the stencil and carefully scrapped off the excess.  It's pretty easy but on the larger hole areas you do need to be sure not to scrape away too much of the design. 

You may notice that the line on the right is longer than the stencil.  I just waited for it to dry, then re-applied the stencil lining up  the design and added in more little dots and flowers.  Wasn't it nice that my mother's is wearing a Not Quite Navy blouse with a jacket that has More Than Mustard trim.  SU has so many colors that it's easy to match almost any photo for you scrapbook layout!

Below the photo helps to show the dimension it created on the layout.

This weekend I am attending three different training events presented by my Stampin' Up! 'upline' who has come to Michigan from PA just for this purpose!  I will have many of my Stampin' Up! 'downline' team with me and I can't wait to share all that we learn next week.  Be sure to come back to my blog next week to see what awesome things Jan, and the other demonstrators, will have shared with us!

Until then....enjoy the last day of blog tour!


Day Of Gratitude

Remarkable Holiday Madness Blog Tour - Day 6

This is not my original idea, and I apologize that I do not know who first came up with because I would like to give her/him all the credit the idea.  I tweaked it a little bit, but basically it's a complete Stamp-lift (like shoplift, but nicer and not illegal).  I wanted to add it because I think it's important to know that it's OK to copy other people's idea....I've often told you that I rarely have my own original creations.  They all stem from something I've already seen, or a combination of ideas.  You CAN be creative...just start Stamp-lifting!


It's super simple to recreate, which is why I chose it, but it has a very detailed look about it.  Your friends will think you spent more time on it than you did.  You will notice that I did the 'brush tip marker matting' technique on the punched out sentiment.  I love to mat my projects and SU hasn't come up with mat punch (yet) for the new XL Decorative Label punch (Holiday Mini page 25).  To help this show up I just run the brush end of the Stampin' Write Marker (IB&C) along the edge of the punched out shape.  This helps it stand out even if you don't use Stampin' Dimensionals to lift it like I did here.  The two pieces of card stock are from the Autumn Spice DSP again.  The ribbon is over the seam where they meet and cinched up with Linen Thread that is wrapped around it and knotted before using it to 'sew' on the button (also from the Holiday Mini).  The leaves are from the Sizzix die Leaves #2 (IB&C page 213) which I then used a sponge to highlight the edges, and then shaped them a bit with my fingers to give the dimension.  They are also on with Stampin' Dimensionals.

 Enjoy the rest of today's ideas.  Hope you come back tomorrow for the last day of the tour.


A Bag Of Friendship

Remarkable Holiday Madness Blog Tour - Day 5  

Here's what you'll need for today's project.  OK, yes email me for a full list.  I just didn't want to type it all today.   You will also not see as much detail in this post, there is just way too much in this fun little book.  It may not seem like a "Holiday" related project but, since I think it makes a fun gift for someone during the holidays, I hope it's OK that I included it today.  This idea as a Holiday book would be easy to personalize by someone's name, a family tradition, etc., after all you can make it as large or as small as you want...just keep adding decorated bags with more letter tags!  (see below)

The book is made with the Mini Lunch Sacks & Autumn Spice DSP from the Holiday Mini catalog (page 12). The Define Your Life stamp set (IB&C Page 161) definitions with each letter worked great!  It kept the look consistent and made it so EZ to tie in the letter to the adjoining page!   I hope you like it!


 Everything you see is made with Stampin' Up! products - the adhesives, ribbons, paper, card stock, diecut letters, definitions, punches, glossy, glittery, or fuzzy, finishes, etc etc etc...why would I use anything else?  Stampin' Up! has all I need to create wonderful Holiday Gifts this year!  (OK, the big rings are from an office supply store). 

Here are a few photos to show the how the letters pull out of the bags, and a few finished pages too.


 Now....who am I going to give this to? 
See you tomorrow for more fun....enjoy the rest of today's ideas!


Design-a-House

Remarkable Holiday Madness Blog Tour - Day 4

I knew immediately that I wanted to play with the new Decor Accents Design-a-House from the Holiday Mini Catalog (page 37).  I can't believe it only costs $5.95!!  What A Bargain!!!

I have seen many beautiful designs by other Stampin' Up! demonstrators - many gingerbread houses and haunted houses that would knock you out with their creativity.  Well, because I do not want to even try to compete with theirs (Hey, I have feelings ya know LOL), I decided to make a replica of my house, sorta.


I  used the Deck The Halls fabric from the Holiday Mini, like yesterday's nite lite sample, for the door, roof & chimney.  The 'siding' is made from the 1/2" Seam Binding (Mini page 21).  The window trim & other white trims are made from fun foam bought at a local craft show.  The land is from a foam core poster board that I cut with my Hobby Blade (IB&C page 199) then used a mix of ink pads (Pear Pizazz, Certainly Celery, Old Olive, & Always Artichoke) I just rubbed the pads directly onto the board to make it look like grass....my real grass isn't all one beautiful color either. Pine cone trees from the tree outside my daughters apartment and the sidewalk is made a sheet of Deck The Halls Designer Series Paper (Mini page 18) - add in some 'moss' with my Always Artichoke Stampin' Write Marker (IB&C page 169).  

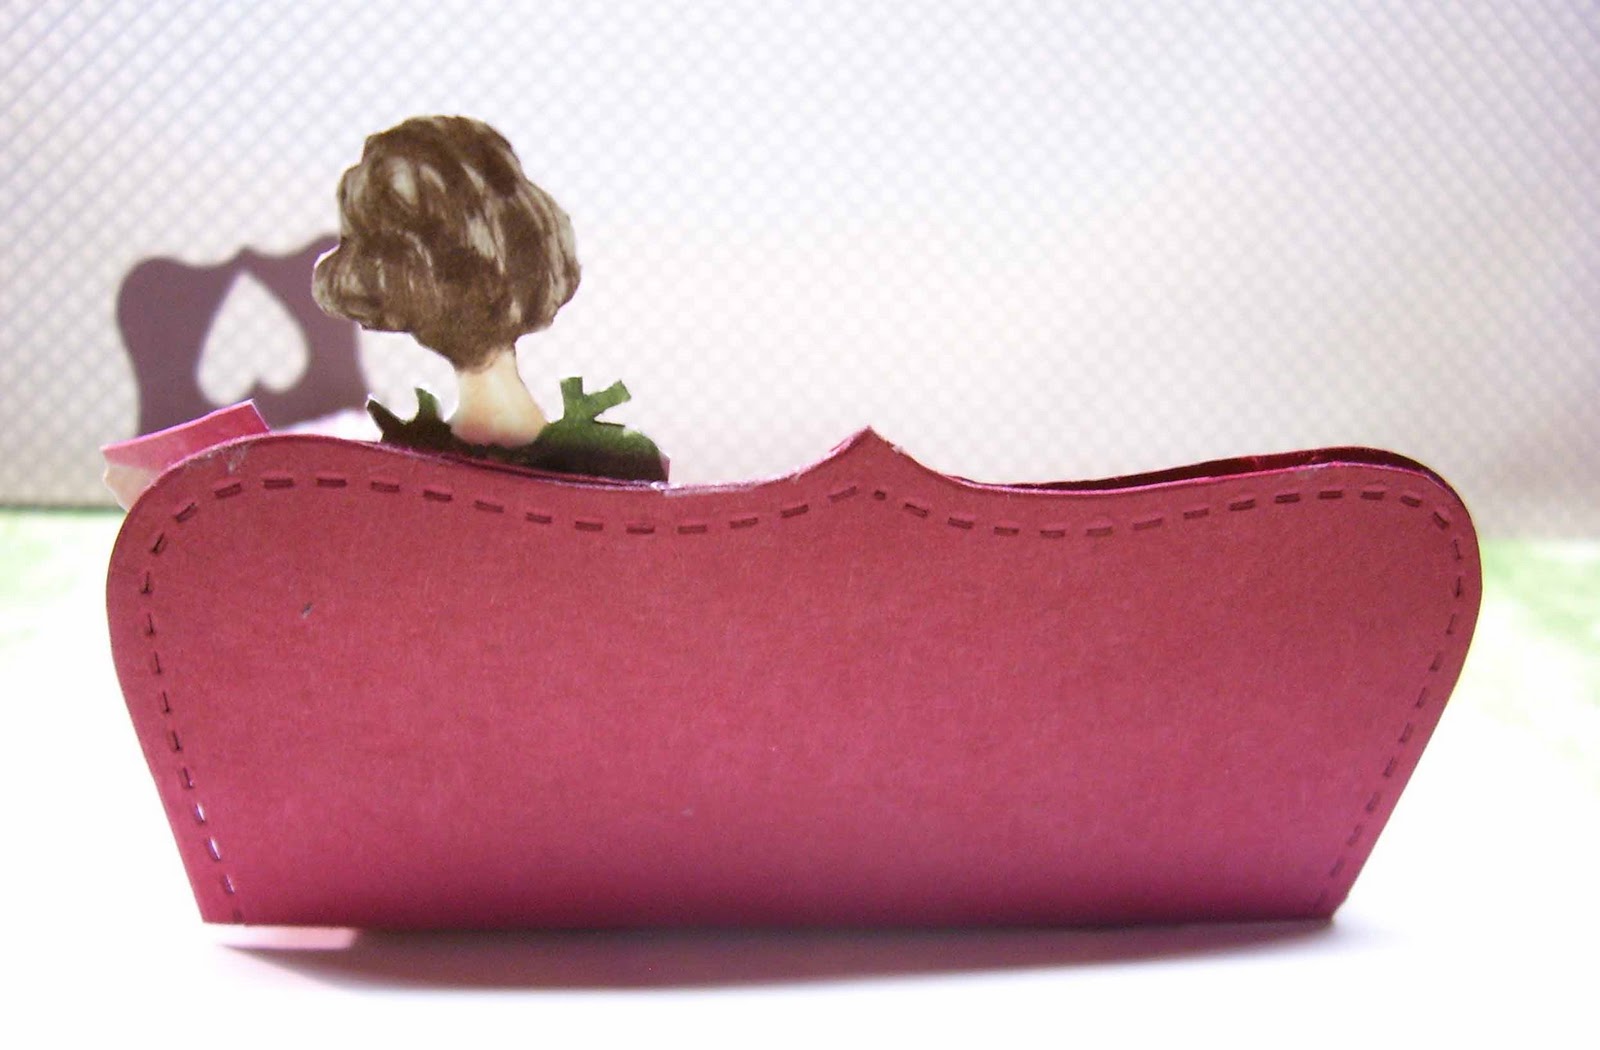
Want to see the inside?    Great, come on in- my alter ego is waiting on the sofa to greet you!    Oh, and check out that cute little door knob.........it comes in kit!  How Cool Is That?
 Wall paper from Deck the Halls DSP, Drapery from the matching material, photo, and a chandelier too (made from the snowflake punch, and 2 Basic Pearl halves combine to make that center drop, and you can't see it, but the Basic Rhinestones are the bulbs, both from the Jewels (IB&C page 188).  OK....there are too many products to keep typing them all out - but all of the furniture, including the 'glass' table are made with Stampin' Up! products, punches, and Big Shot dies.  The 'homeowner' is from a retired set and the copy of the IB&C on the table...printed from my computer (reduced in size of course)  Here's the rest of the house.....


One thing you may not know is that the Decor Accents Design-a-House also comes with patterns!  This makes designing your house so EZ.  I am only showing a small part of the patterns.  You can't see all the pieces, and I want to point out that there are separate window patterns for the windows (and all windows) that you see in this photo.  Stampin' Up! really thought this kit through! Love It!
Off to work on more projects . . . see you tomorrow!  Until then, enjoy the rest of today's tour.